Pentesting Android Applications-Part 1
Setup:
For beginning with Android application Pentesting you need a physical device or Android Studio , here I am starting with Android studio.
1)Download latest Android Studio
Go to :https://developer.android.com/studio
2) Click on install and proceed with the steps
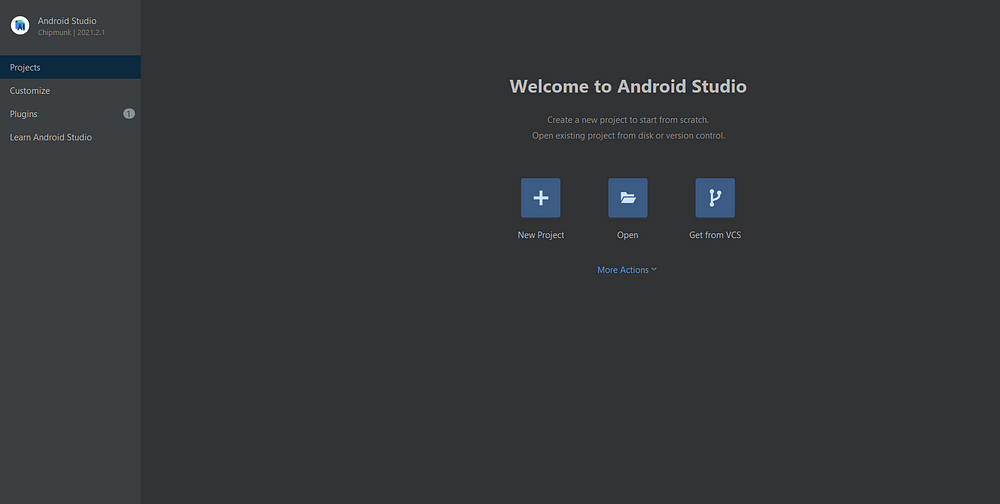
3)Click on New Project
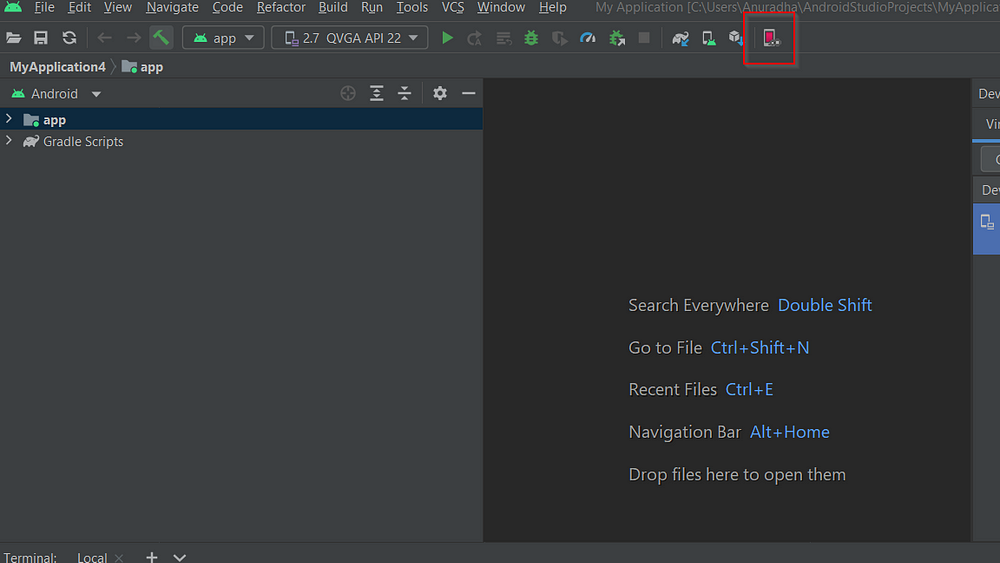
4)Open Terminal in bottom and go to
C:\Users\yourusername\AppData\Local\Android\sdk\platform-tools>
This is were adb.exe is located
adb is going to be used extensively for pentesting Android apps
Add adb to path by going to Environment variables so that you can access it from anywhere
5)Download sample apk for testing
What is DIVA? DIVA (Damn insecure and vulnerable App) is an App intentionally designed to be insecure. We are releasing…payatu.com
I am using the apk from below link:
http://www.payatu.com/wp-content/uploads/2016/01/diva-beta.tar.gz
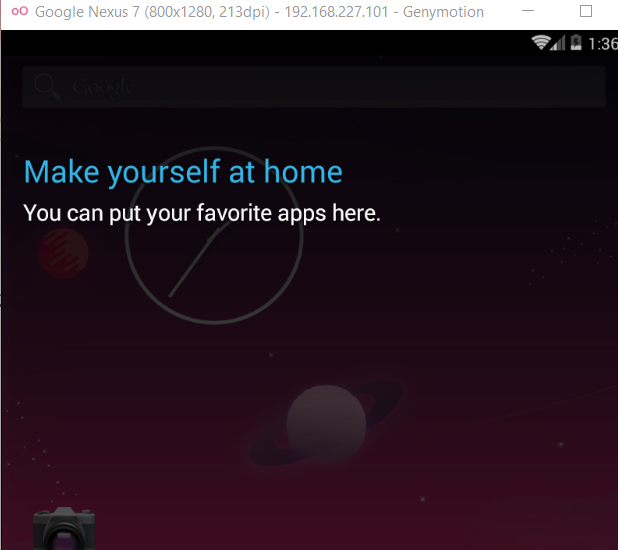
6)Download Genymotion for fast emulators
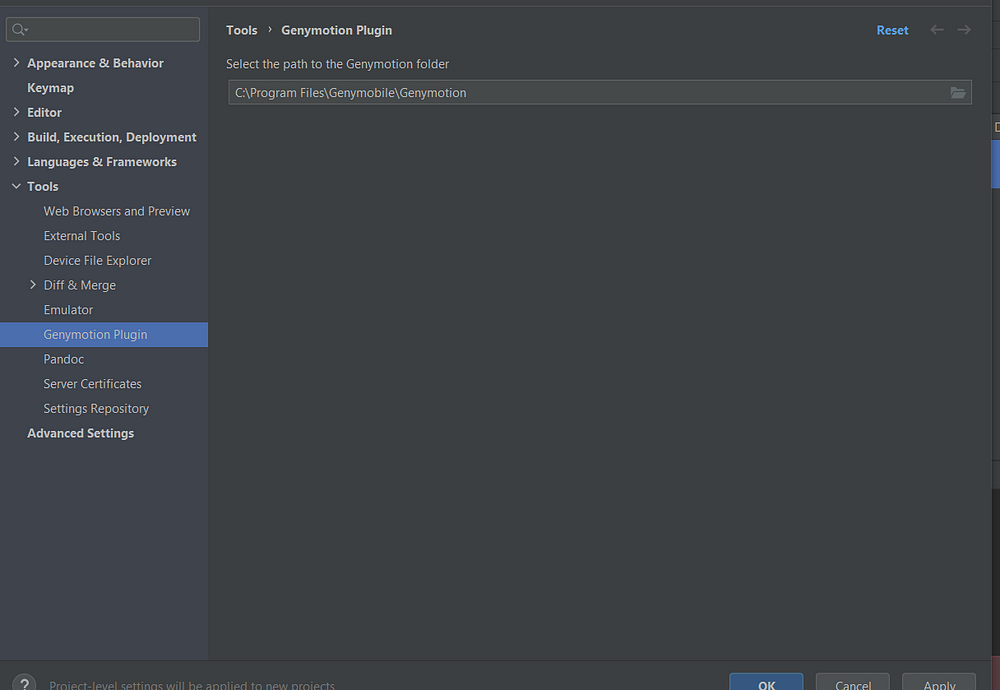
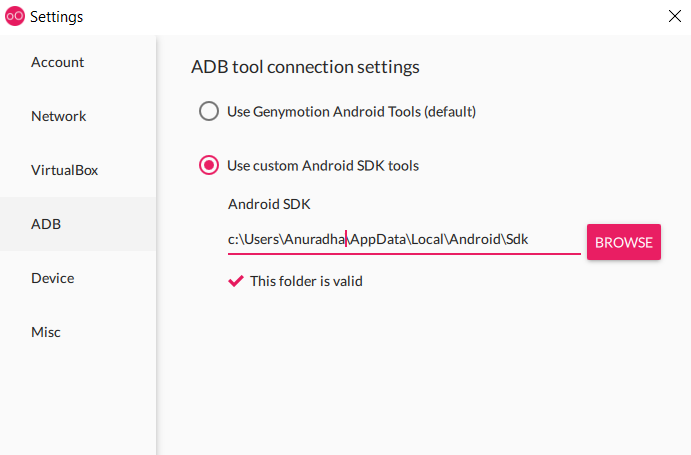
7)Configure Genymotion to use with Android Studio
https://docs.genymotion.com/desktop/07_Plugins/
Note the Genymotion plugin that appears here
Click on Genymotion icon again

Make sure Genymotion is pointing to correct SDK location
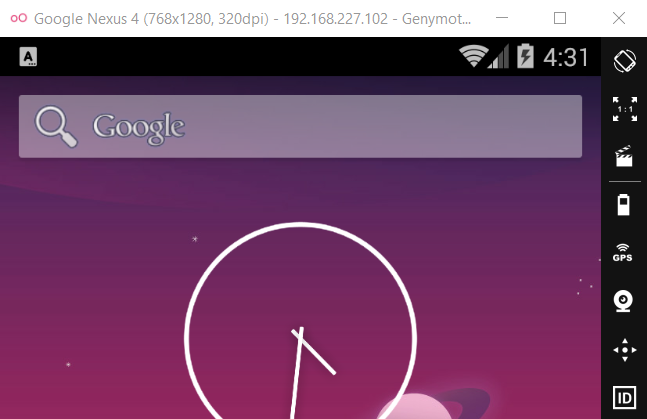
I have started a new GenyMotion Emulator , observe the IP address
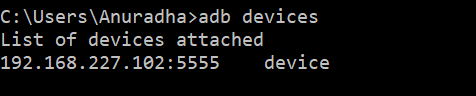
I have my adb set in system variables hence I can access it from anywhere.
Typing: adb devices
We see our emulator listed
Install GApps to get access to playstore so that we can directly download apps from
playstore and start playing with them
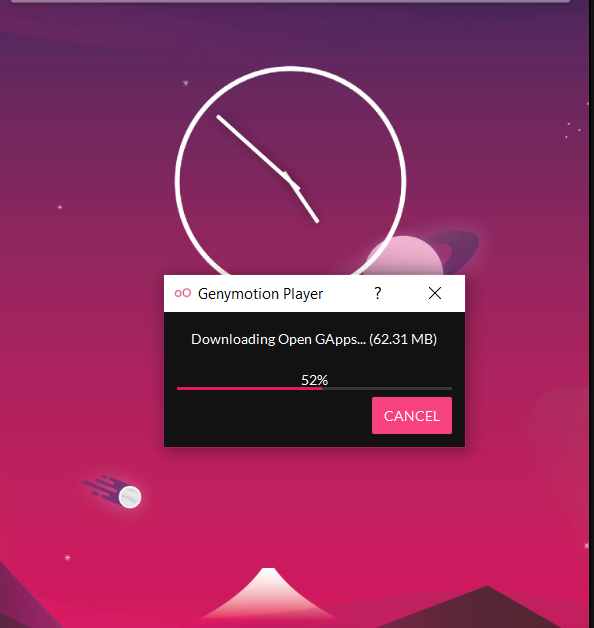
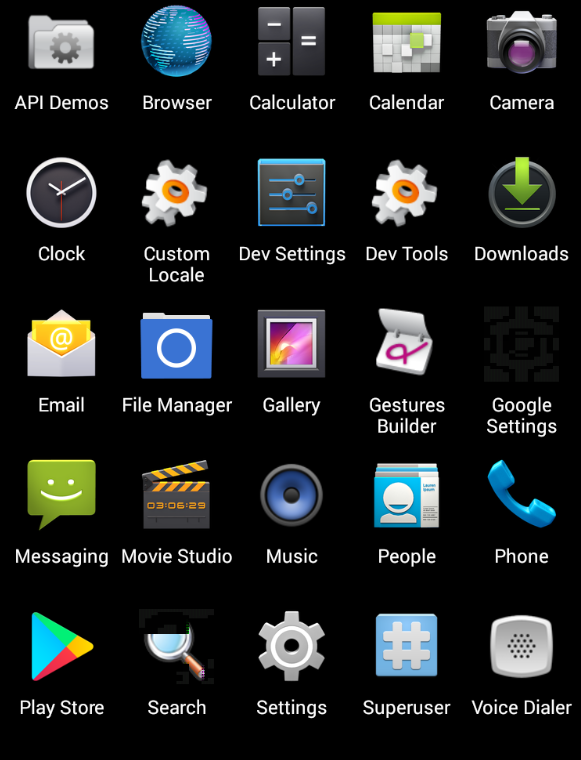
Restart your Emulator , observe that play store icon has appeared
Installing diva application on Emulator
adb install -r "Path to the apk file"

Diva application successfully installed on Emulator
